How do I record a presentation in Office 2016?
- Here you can find the manufacturer's help page.
- Here you can find an English PDF version of the manual: Lecture recording with Office 2016.
1. In the "Slide Show" tab, click on the arrow at the bottom of the "Record Slide Show" button:
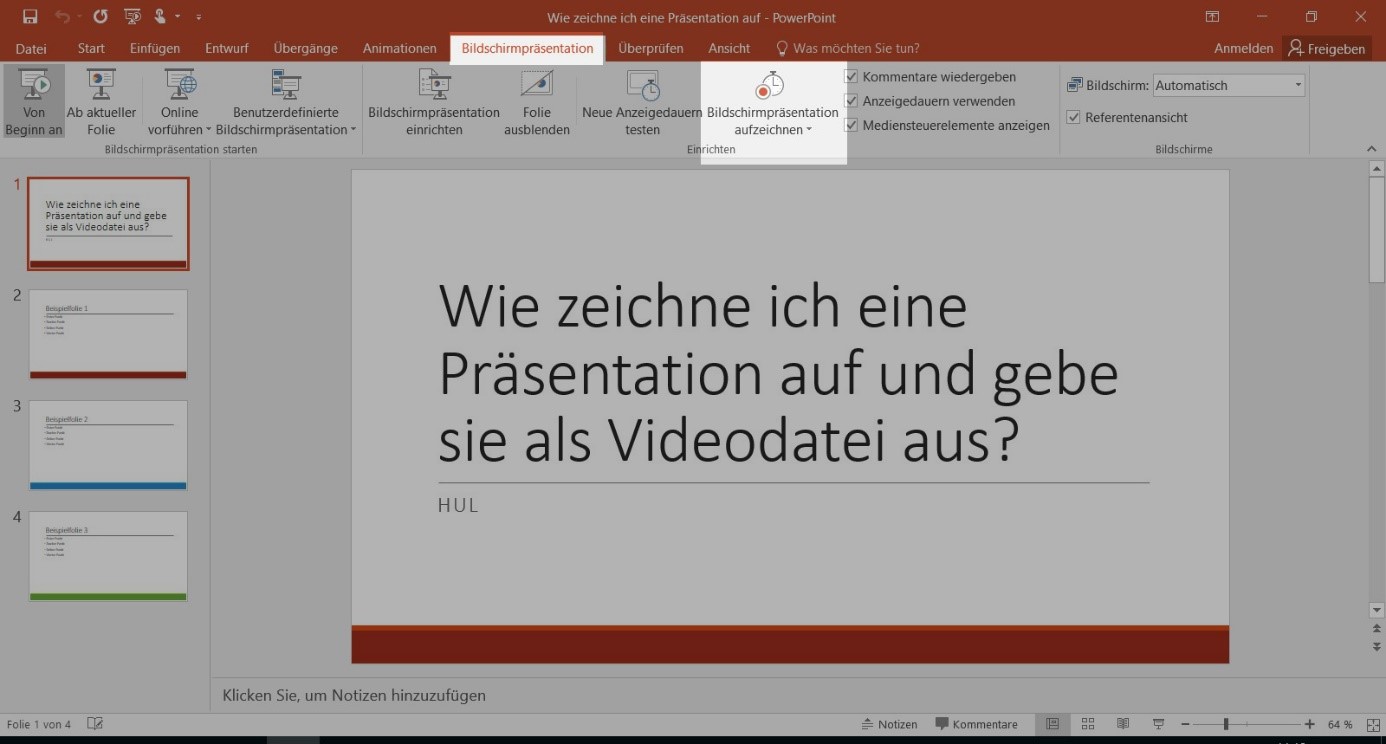
2. In the menu that now opens, select whether the presentation should be recorded from the beginning or from a later slide:
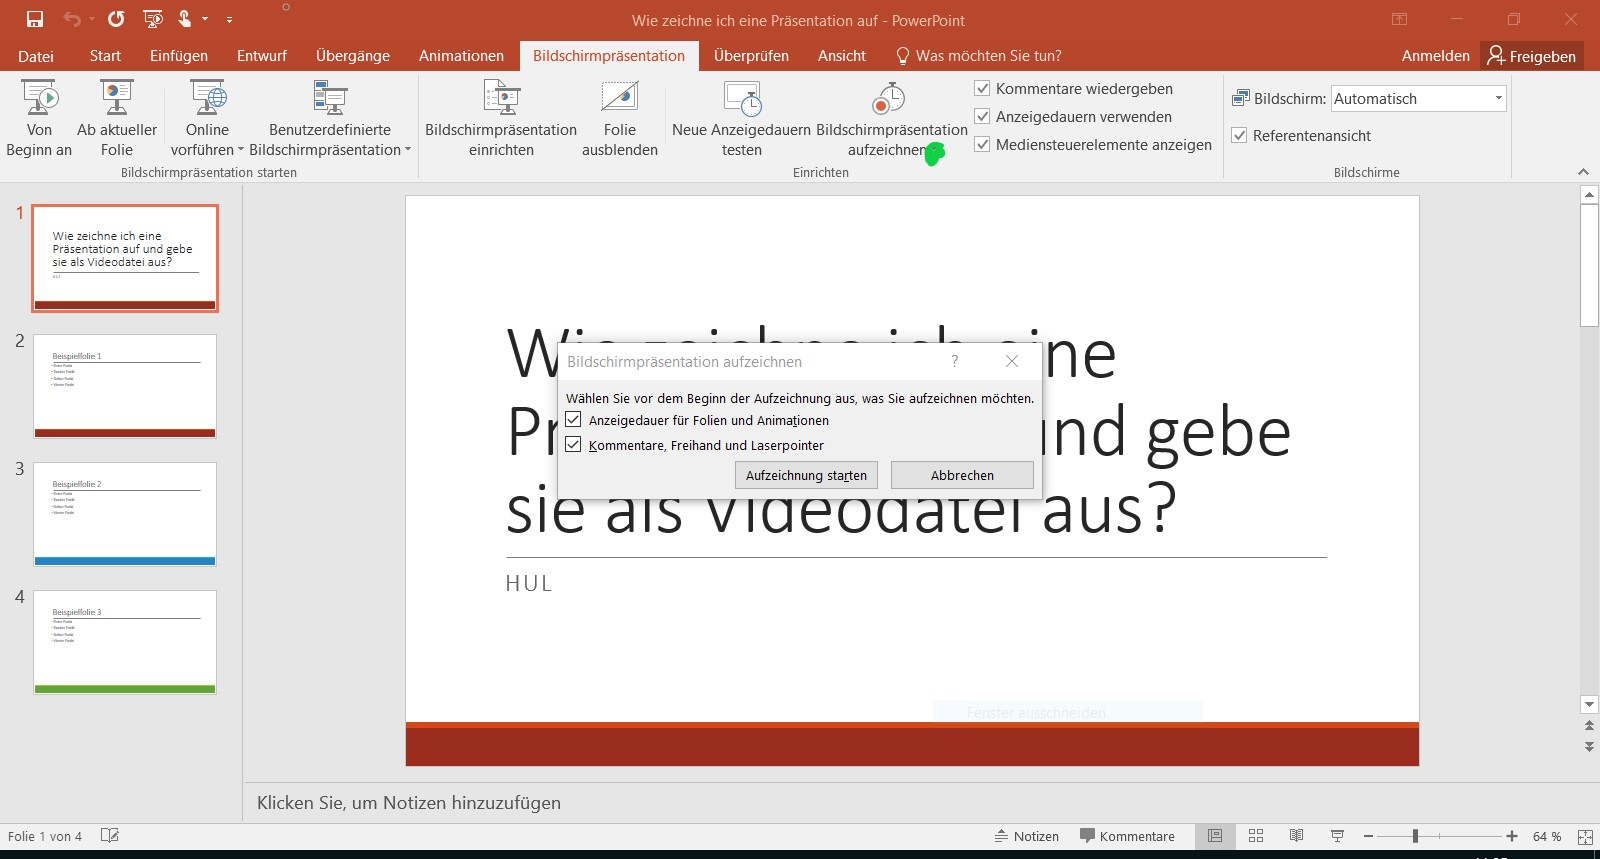
If recording should start from a later slide, select the respective slide in the left pane with previews of the slides in your presentation, and then click on Record Slide Show.
3. A small window will open where you can choose whether any markings made during the presentation should also be recorded. If the checkbox does not have a checkmark for the option "Slide and animation timings," click the checkbox to select it. Then start the recording by clicking the "Start Recording" button.

4. The full-screen presentation view will now open. From this point on, audio will be recorded via the default microphone. In the top left corner, there are options to move to the next slide or pause the recording. Additionally, the elapsed time for the current slide is displayed.
Please make a clear pause in speaking during slide transitions. The audio information is stored with each individual slide. If you speak over a slide transition, which likely happens often in a lecture setting, part of your spoken words may be lost. It's best to experiment with this to find out how long the pauses need to be by recording a slide transition and listening to how it sounds afterward.
To set the display duration for the current slide, proceed to the next slide using the "Next" button. You can also click on a slide to advance to the next one.
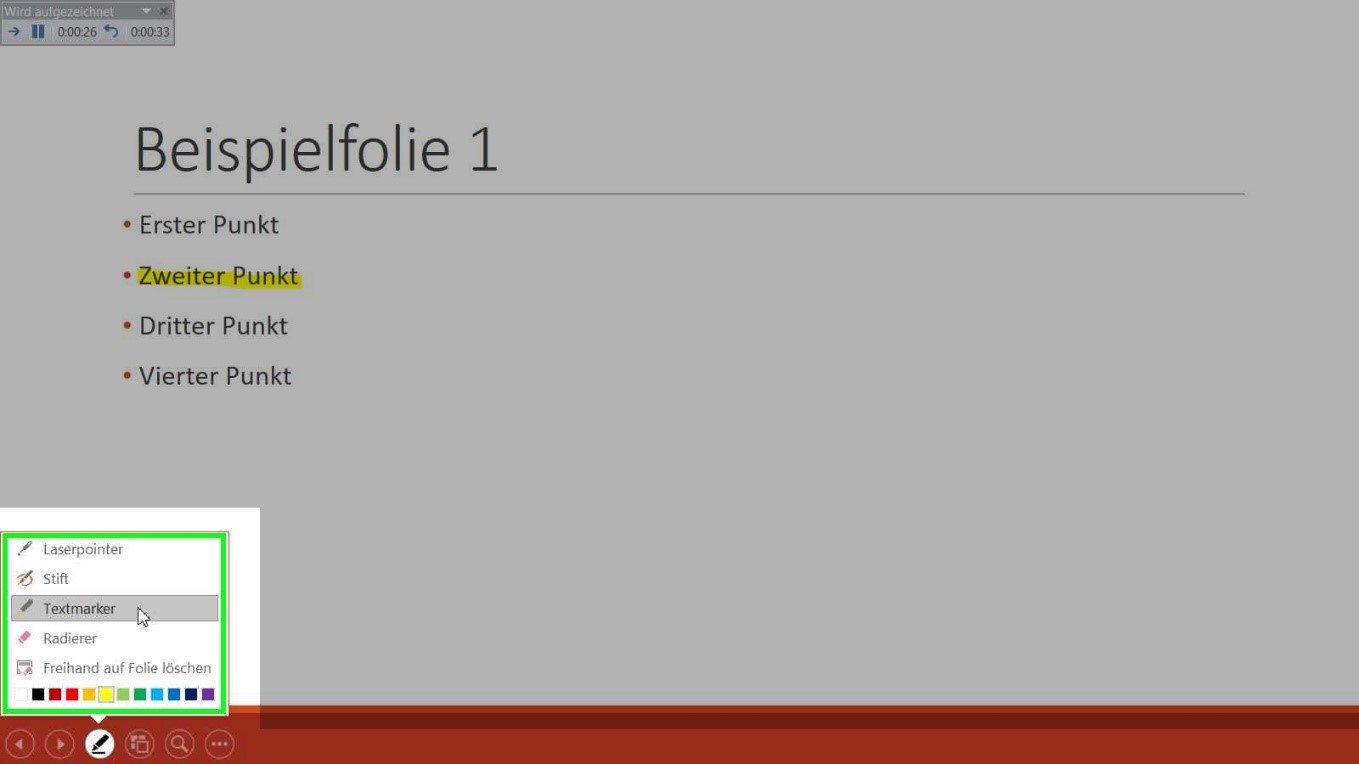
5. In the bottom left corner, you have access to additional useful presentation functions. You can also use the arrows here to navigate through the slides. If you want to annotate the current slide, click on the pen icon (the 3rd icon from the left) and select one of the functions:
6. If you want to temporarily hide the slide, click on the icon with the three dots in the toolbar at the bottom left, move the mouse pointer to the "Screen" menu, and select one of the available functions: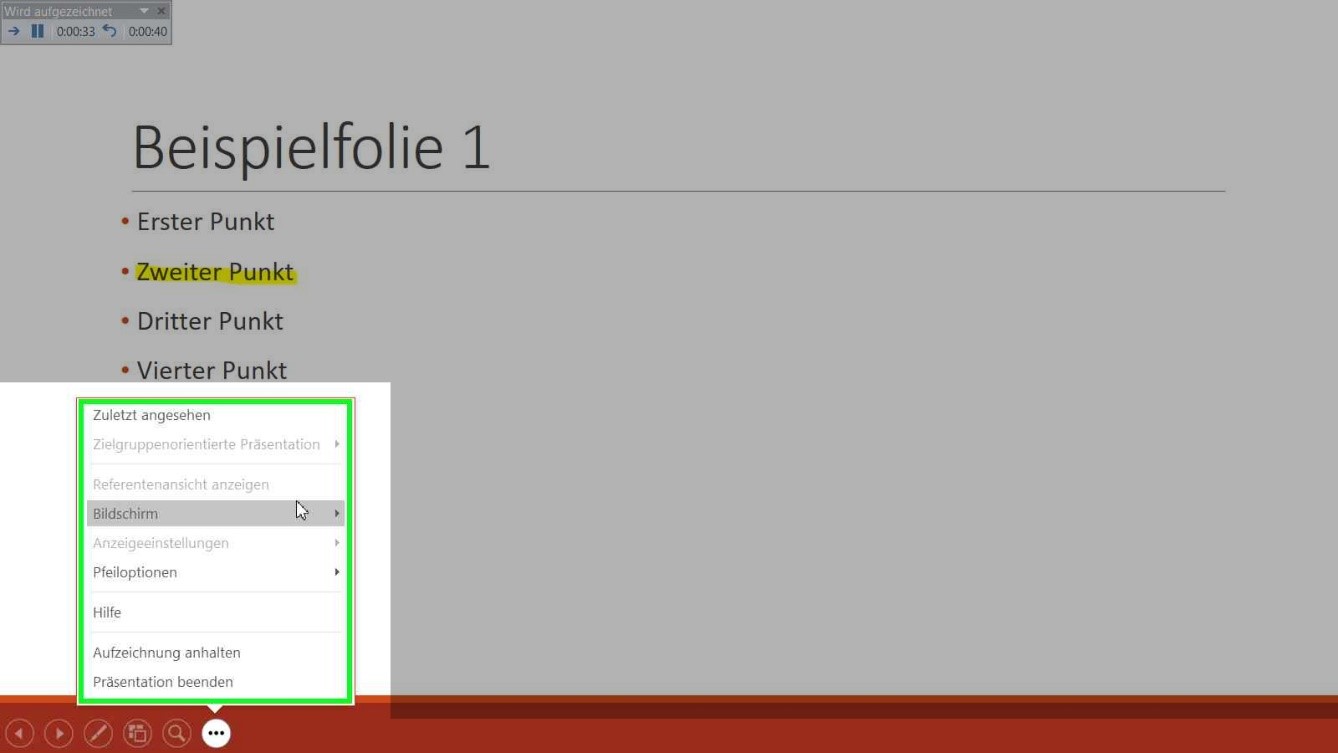
7. Once you reach the last slide, the recording will automatically end, and PowerPoint will return from the presentation view to the main screen.
8. If you want to make changes to the recording, repeat the steps starting from step 2.
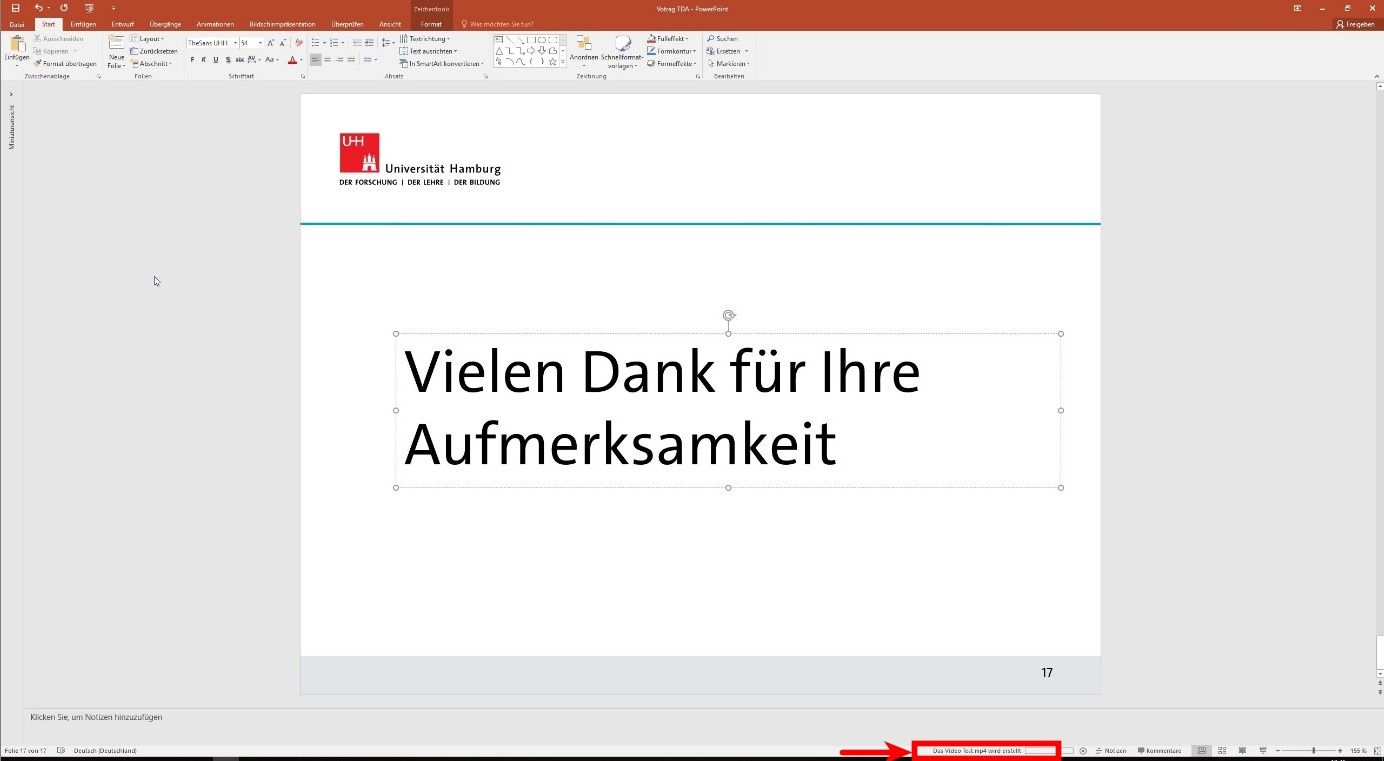
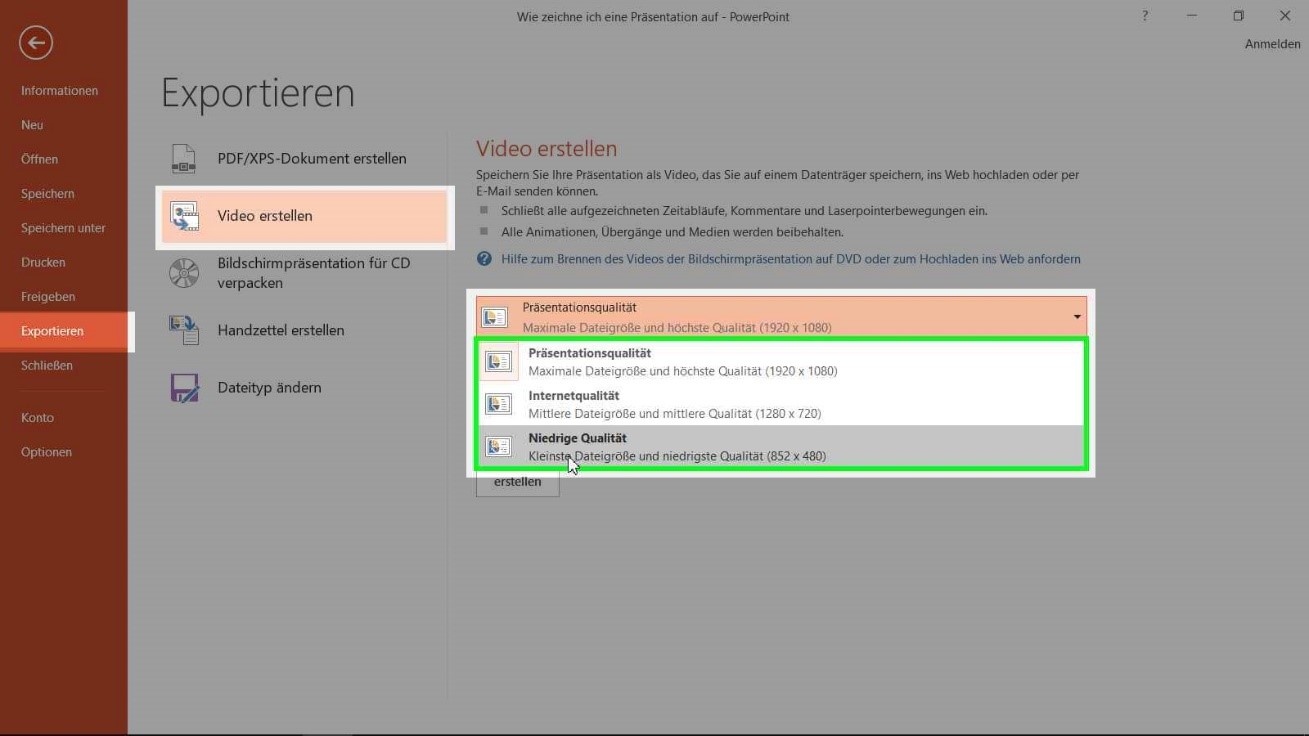
9. To output the now automatically running presentation as a video file, select the "File" tab, click the "Export" button, and choose "Create a Video." You can set the presentation quality during this process. The higher the quality, the more storage space the resulting video file will require. The lowest quality is roughly equivalent to a DVD.
Please select MPEG4-Video as the file type.
At low quality, the used storage space is up to 4 MB per minute.
Wait until the saving process is complete before closing the program; otherwise, the file will not be fully saved.
