Audio recording with Audacity
Lecture Recording: Pure Audio Recording
Advantage: If you do not have a fast internet connection, it may be beneficial to create a pure audio recording and optionally refer to a PowerPoint presentation as a PDF document. The resulting files are significantly smaller than video files, making the upload to Lecture2Go faster.
Attention: In STiNE, only files up to a maximum of 50 MB can be uploaded. The export settings (see below) are configured to ensure that for a 90-minute lecture, you will definitely stay below this limit.
1. Required equipment:
- A computer with Windows, MacOS, or Linux operating system
- Internet access (the internet connection does not need to be particularly fast for uploading a pure audio recording)
- A quiet room: Especially for a pure voice recording, it is important that there are as few background noises as possible that could disrupt the recording
- A microphone
You can use your computer's built-in microphone.
You can achieve better sound quality with an external microphone, such as a headset or a stand/table microphone.
2. Installation
Windows:
Go to: https://www.audacityteam.org/download/windows/
- Click on "Audacity 2.3.3 installer."
- You will be redirected to the Fosshub server, where you should click on "Audacity Windows Installer."
- Note: Please do not click on the large advertisement banner at the top of the Fosshub page. Instead, scroll down a bit to find the Windows link.
- Follow the installation instructions.
- Open Audacity.
MacOS:
- Go to: https://www.audacityteam.org/download/mac/
- Click on "Audacity 2.3.3 .dmg file."
- You will be redirected to the Fosshub server, where you should click on "Audacity macOS DMG."
- Note: Please do not click on the large advertisement banner at the top of the Fosshub page. Instead, scroll down a bit to find the macOS link.
- Follow the installation instructions.
- Open Audacity.
Linux:
- Go to: https://www.audacityteam.org/download/source/
- Click on "audacity-minsrc-2.3.3.tar.xz."
- You will be redirected to the Fosshub server, where you should click on "Audacity Linux Source."
- Note: Please do not click on the large advertisement banner at the top of the Fosshub page. Instead, scroll down a bit to find the Linux link.
- Follow the installation instructions.
- Open Audacity.
3. Recording
- In the lower area of the menu bar, you will see a microphone icon next to a selection box.
- In this box, the microphone that you normally use as your default microphone is usually pre-selected.
- If this is not the case, or if you want to record with a different microphone, you can simply click on the box and select the appropriate device.
- Next to the microphone selection, you can set whether you want to record in mono or stereo. Even if you have a mono microphone, you need to select "Stereo" to have sound on both the left and right channels later.
- Set the project rate (bottom left corner) to 22050 Hz.
- Click the record button, indicated by the red dot, to start the recording.
- Click the square black stop button to end the recording.

4. Exporting the Recording
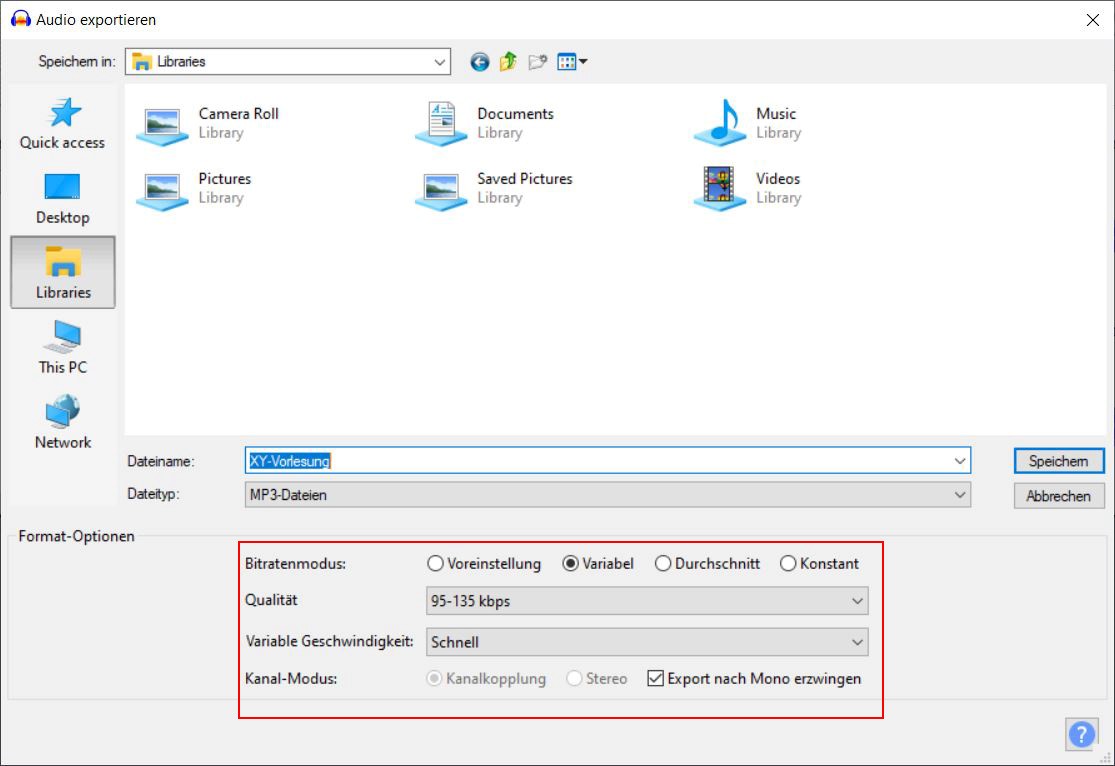
- Click on “File” and then select “Export” from the drop-down menu, followed by “Export as MP3.”
- Enter a file name and choose a storage location.
- Select “Variable” as the bitrate mode.
- For the quality setting, choose 95-135 kbit/s.
- In the channel mode, select “Force export to mono.”
- Click “Save.”

Now enter the metadata (optional).

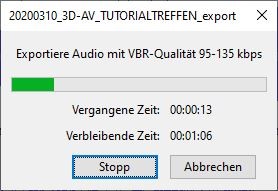
Start the export with 'OK'.

5. Additional Information
- Here you will find supplementary information and tutorials (in English).
