Inserting media
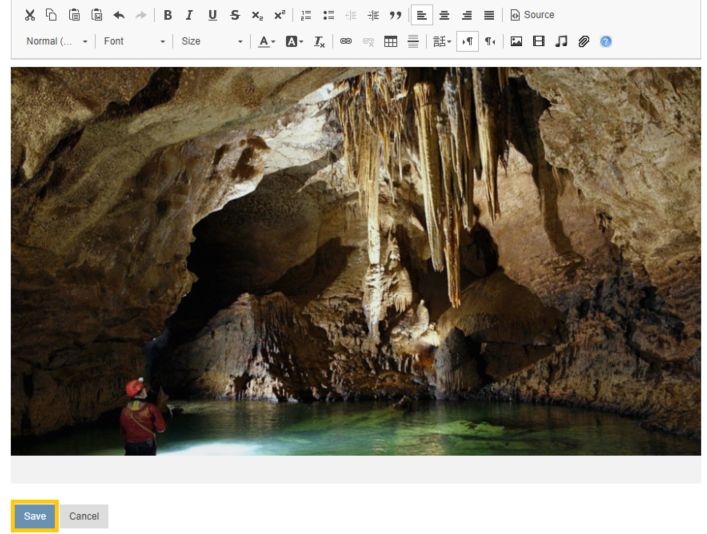
You can add different kinds of media to your entries in CommSy to make them more attractive and informative. All rubrics in which you can post your own entries allow you to insert links, images, videos, and music. “Inserting” means that the medium itself appears in the entry. When you insert an image in an entry, for example, the image will be displayed along with the other content as soon as the entry is opened (Fig. 1). Users do not need to download the image file to view the image.
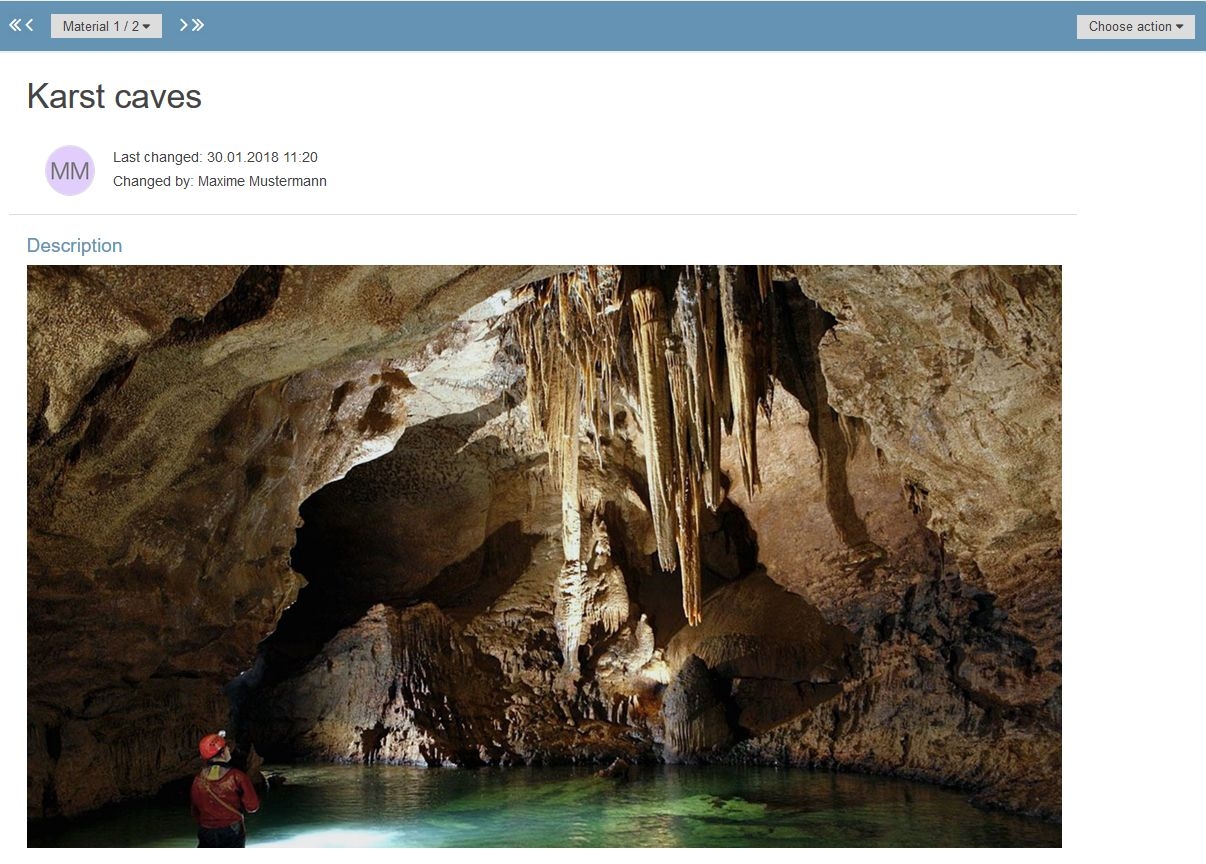
| Tip: Due to the responsive design of CommSy10, the system does not automatically show the entire description of each entry. This is why most images and videos appear to have been cropped. Click “more … ” to view all content in the description. To shorten it again, click “less …”. |
The following section explains how to insert images and videos. Inserting music is very similar to inserting videos, so if you want to know how to insert a sound file, please refer to the chapter about inserting videos.
1. Inserting images
To insert an image, open the “Edit description” menu. You can find this menu by hovering your mouse over the right side of the description field (Fig. 2).

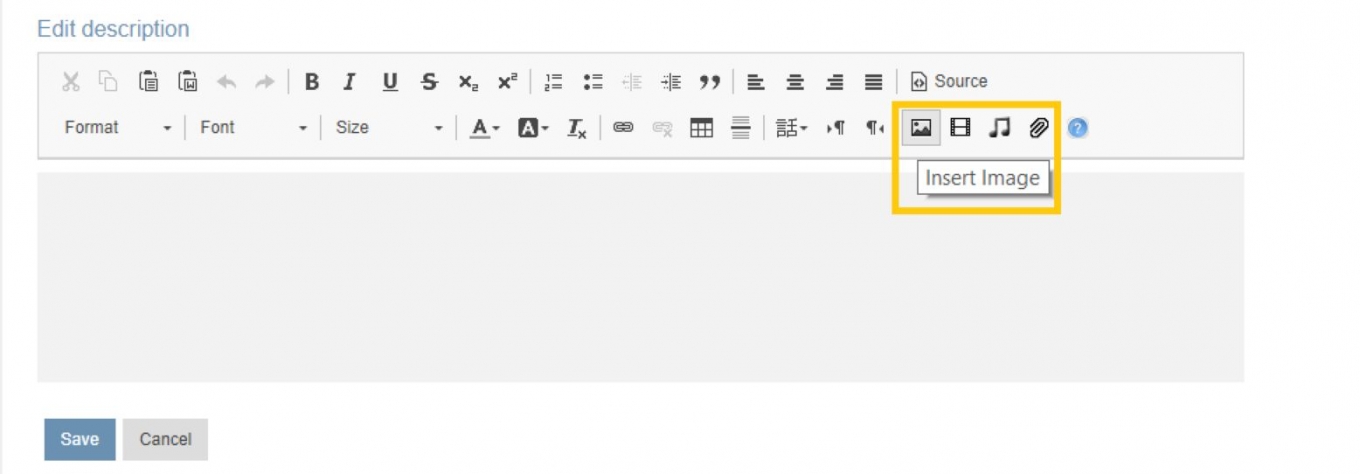
A dialog window opens. You have two options here. You can insert images that are saved on your computer or you can insert images from the Internet.
Inserting images from your computer: To insert an image that is saved on your computer, click “Choose file” under the heading “Upload new file” (Fig. 4).
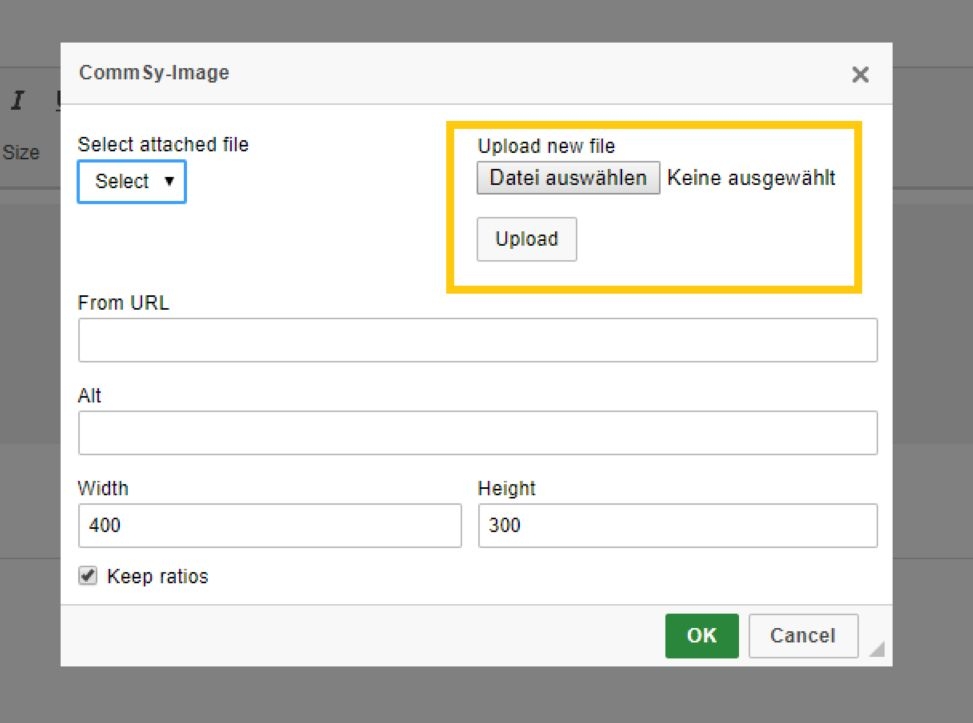
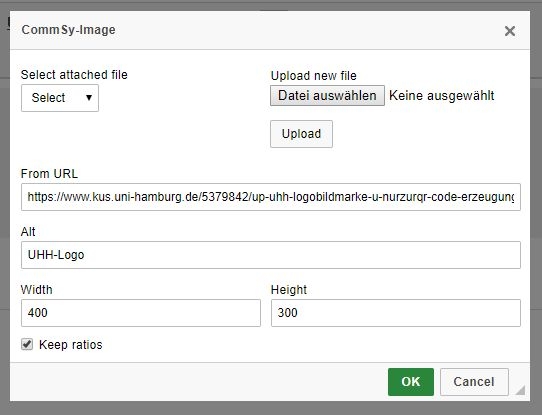
Another dialog opens. Choose your file here. You can upload any common file format: JPG, JPEG, GIF BMP, PNG. Once you have located the file you want to upload, click “Open” and then “Upload”. The system automatically completes the field labeled “From URL”. You can also add an alternative text to the file (using the “Alt” field) and specify the size of the inserted image. We recommend that you leave the box next to “Keep ratios” checked. Your image might be distorted otherwise. To insert your image, click “OK” (Fig. 5).
Click “Save” to finish editing (Fig. 6). Your image is now inserted in the description.
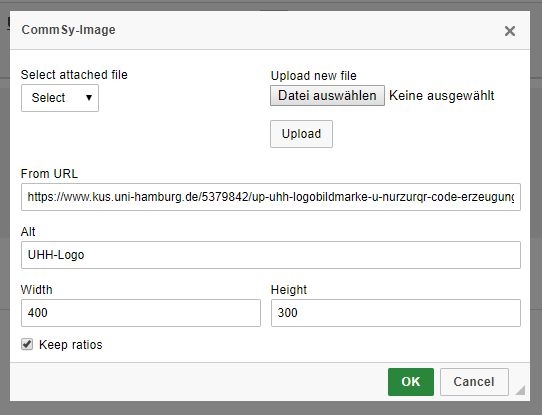
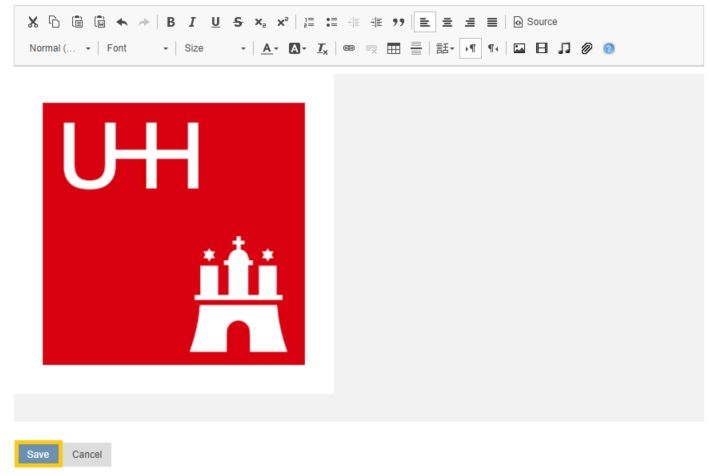
Inserting images from the Internet: To insert an image from the Internet, enter the link to the image in the “From URL” field. Make sure that the link has a file extension. This means that it must end in “.jpg,” “.png” or something similar. Again, you can add an alt text and set the dimensions of the image (Fig. 7).
2. Inserting videos
Inserting videos is similar to inserting images. You can either upload a file from your computer or specify the URL of a video on the Internet. Open the “Edit description” menu. You can find it by hovering your mouse over the right side of the description field (Fig. 9).

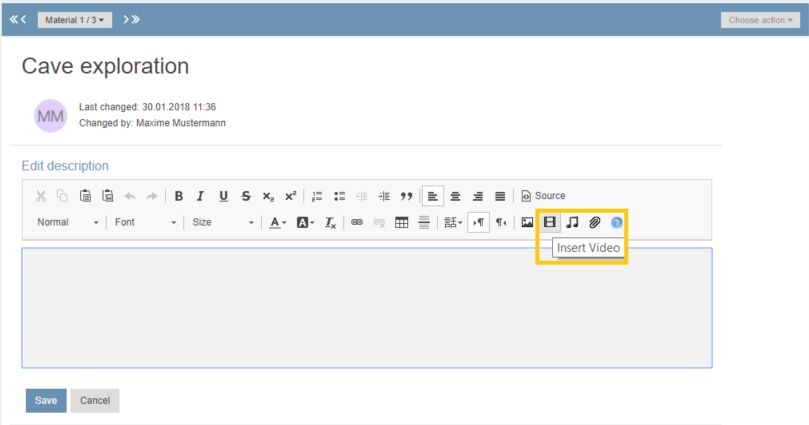
In the editor, click ‘Insert Video’ (Fig. 10).
You have two options here. You can either insert a video that is saved on your computer or insert a video from the Internet (for example from Lecture2Go, YouTube, or a similar website).
Inserting videos from your computer: To embed videos directly from your computer, select the “Datei auswählen” option to access files from your computer (Fig. 11).
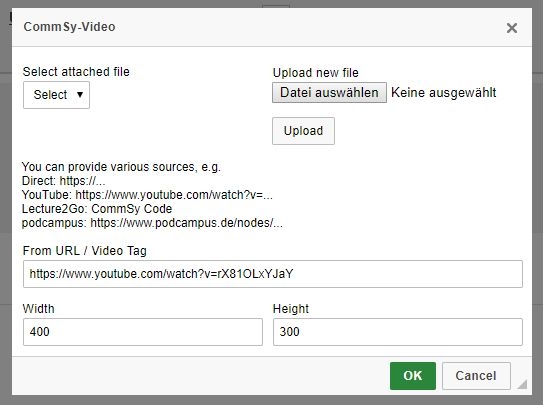
Select the desired file and confirm this with a click on “Upload”. The bar with the label “From URL / Video Tag” will fill up automatically. Then confirm with “OK”. The video is now embedded in the edit box. Click on “Save” to insert the video at the desired position in the description (Fig. 13).
Inserting images from the Internet: Files for uploading must not be larger than 48 MB each. We therefore recommend that you insert videos that have already been uploaded on other platforms. Again, you have multiple options:
- You can insert a video by providing a direct link. This could be the URL of a video on your personal homepage, for example. Make sure that the link has a file extension. This means that it must end in “.mp4” or something similar.
- It could also be a YouTube link (in the format "https://www.youtube.com/@unihamburg")
- Alternatively, you can embed an “HTML5 code,” for example from Lecture2Go.
This tutorial demonstrates the process using a YouTube video.
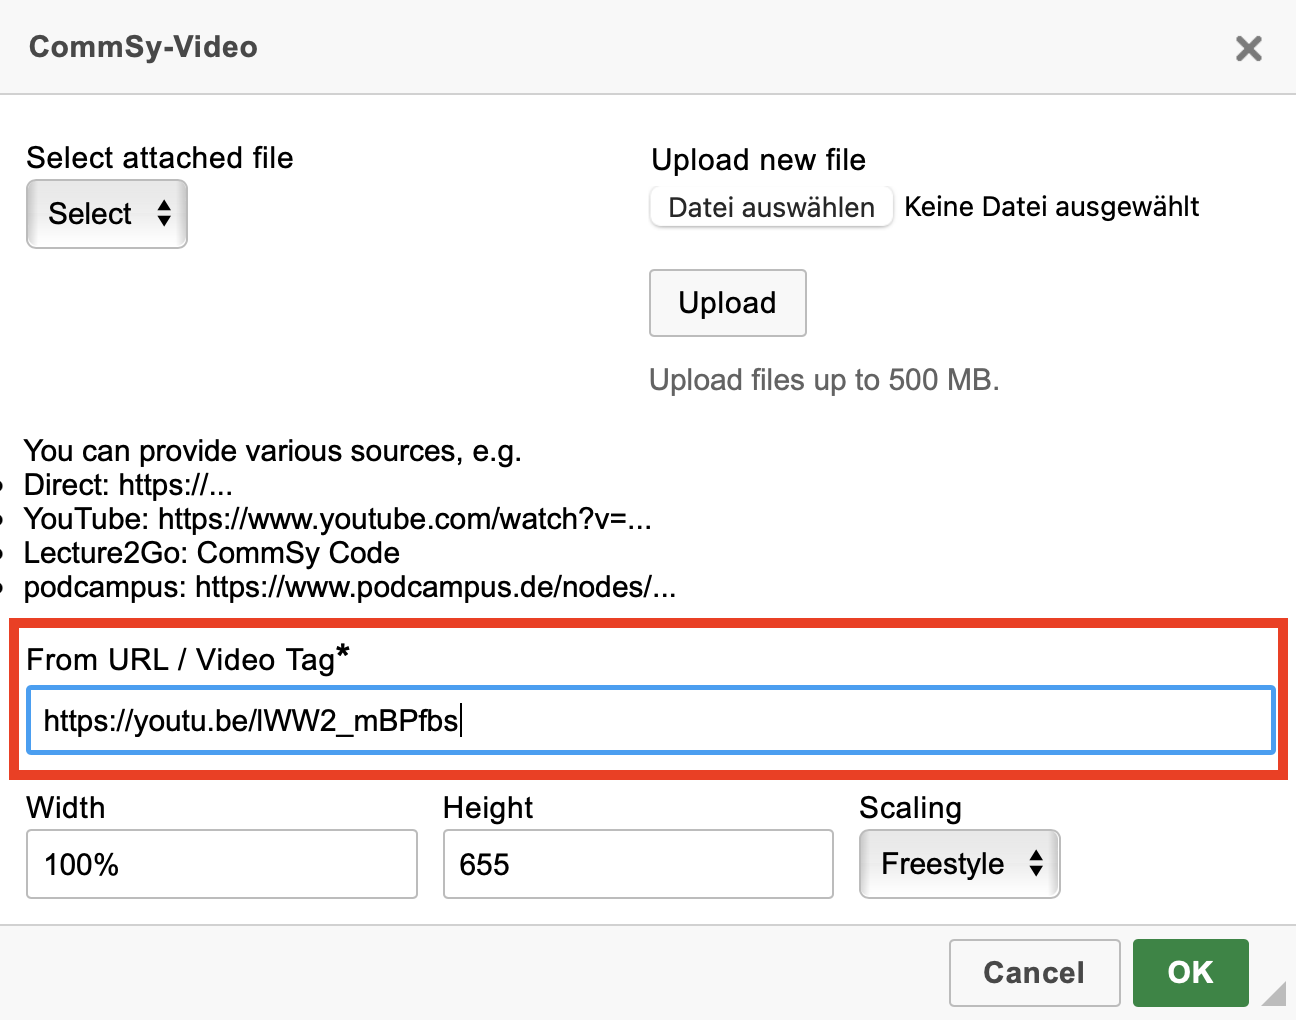
Paste the YouTube link (format as described above) into the field labeled “From URL / Video Tag.” As with images, you can specify the size of the video. We recommend that you leave the box next to “Keep ratios” checked to prevent distortion. Now, click “OK” (Fig. 12).
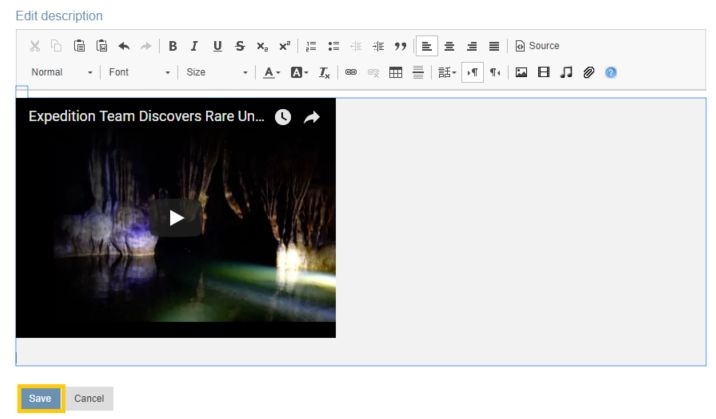
Click “Save” to finish editing. The video will be inserted into your preferred section of the description (Fig. 13).
3. Inserting links
Links are pointers to other websites. You can use them to “link” your entry to external content.
There are two types of links you can embed in your entry in CommSy: normal hyperlinks that point to any website and links to other CommSy entries. There is a separate command for embedding the second type.
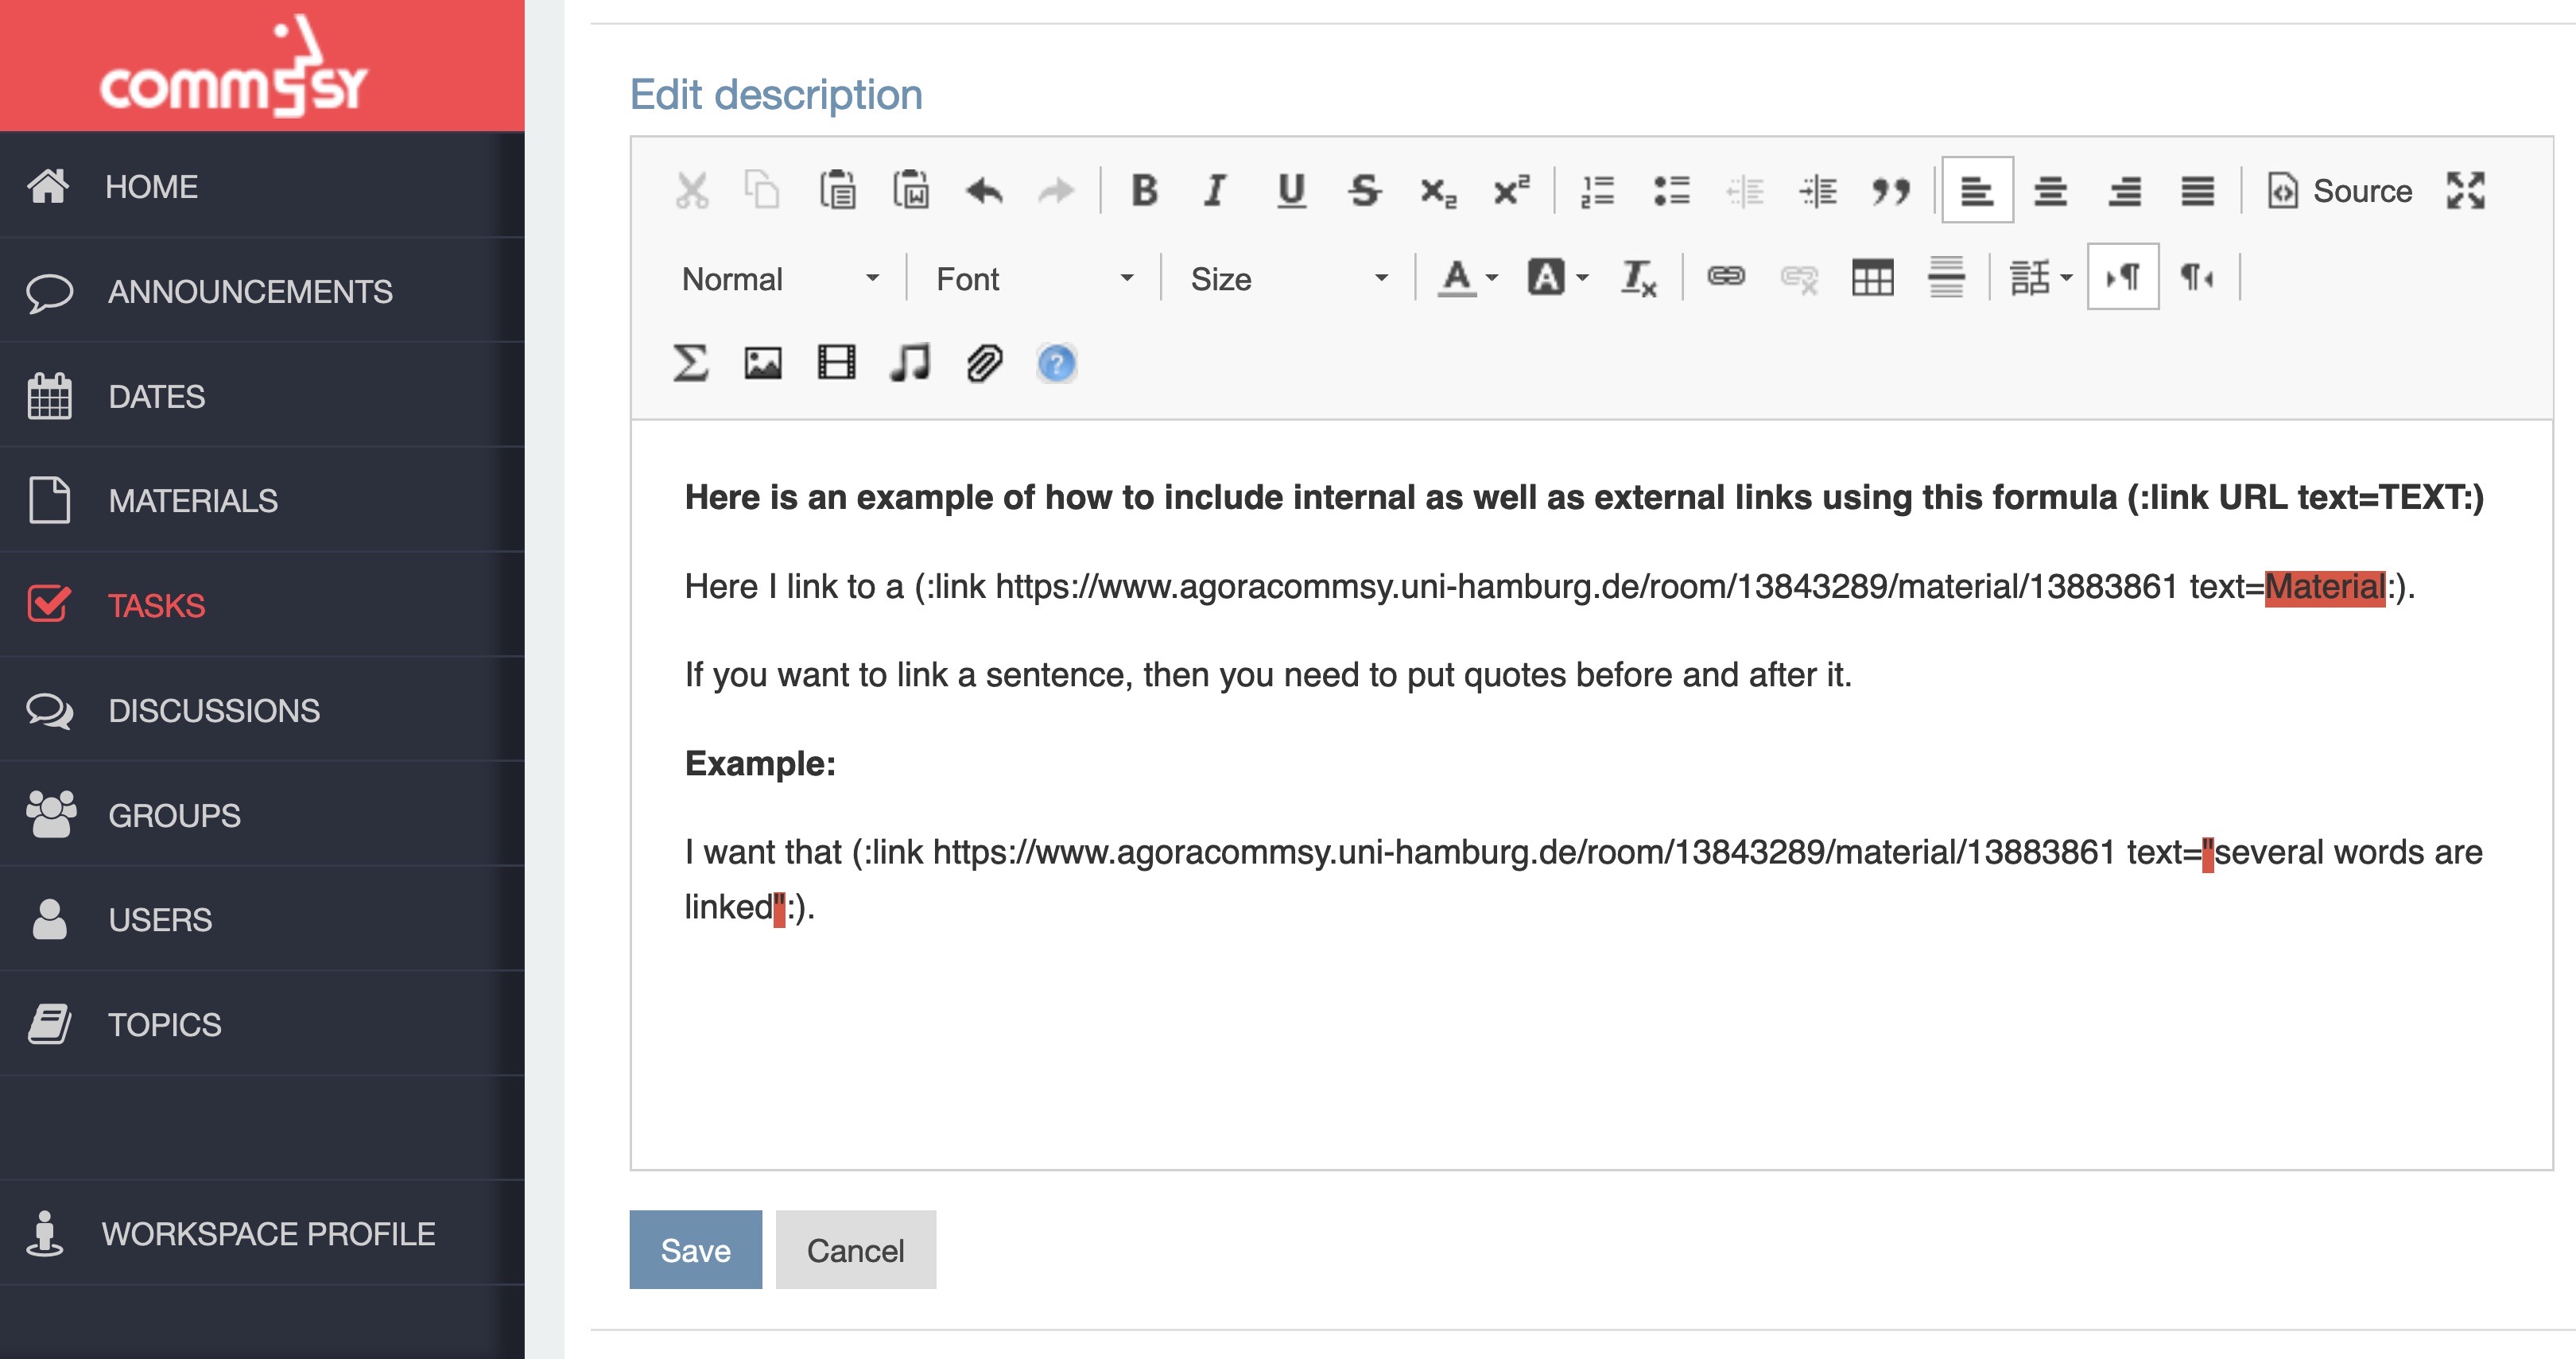
Hyperlink: (:link TARGET text=TEXT:) In this code, replace “TARGET” with the address of the website you want to link. Replace “TEXT” with a text that will be displayed in place of the actual website address.

Linking a CommSy entry: Instructions for this function will be added shortly.
