Group Rooms
Under the section "Groups," the members of a project room can form subgroups – for example, for tutorials, study groups, or specific topics. The individual groups also have the option to set up a protected subgroup room that is subordinate to the project room, which has the same functions as the project room itself but can be accessed and used only by the group's members if needed.
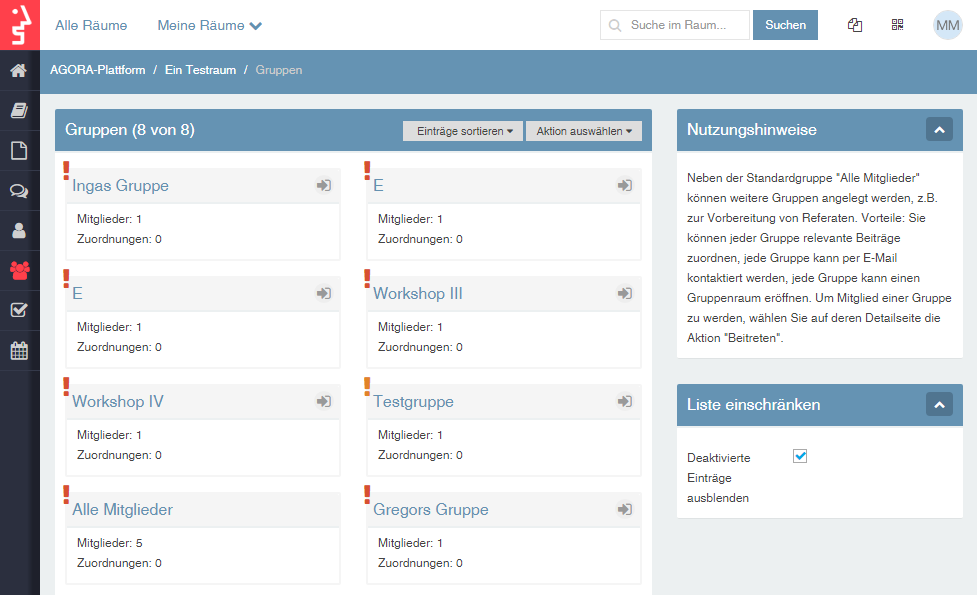
| Note: In addition to the standard group "All Members," more groups can be created, for example, for preparing presentations. Benefits: You can assign relevant contributions to each group, each group can be contacted via email, and each group can establish a group room. To become a member of a group, select the action "Join" on its detail page. |
1. Activate Groups Section
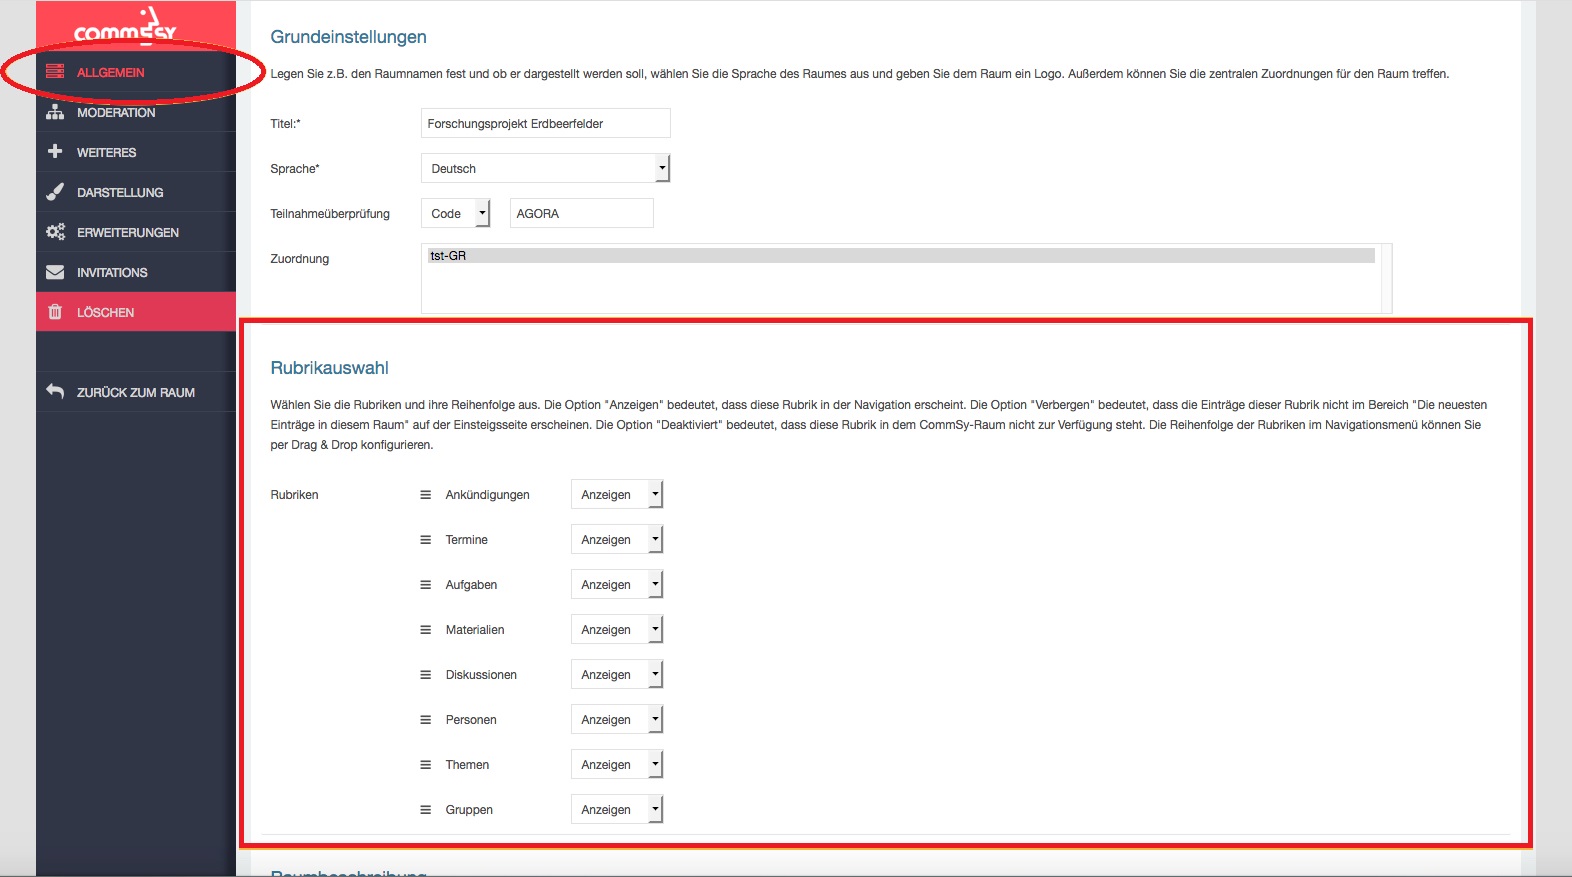
The "Groups" section may not be automatically activated when a project room is newly created. As a room moderator, you can select the Groups section for display from a drop-down menu in the room settings under the "General" tab (Fig. 2), provided it is missing from the section bar of your room.
2. Create Group
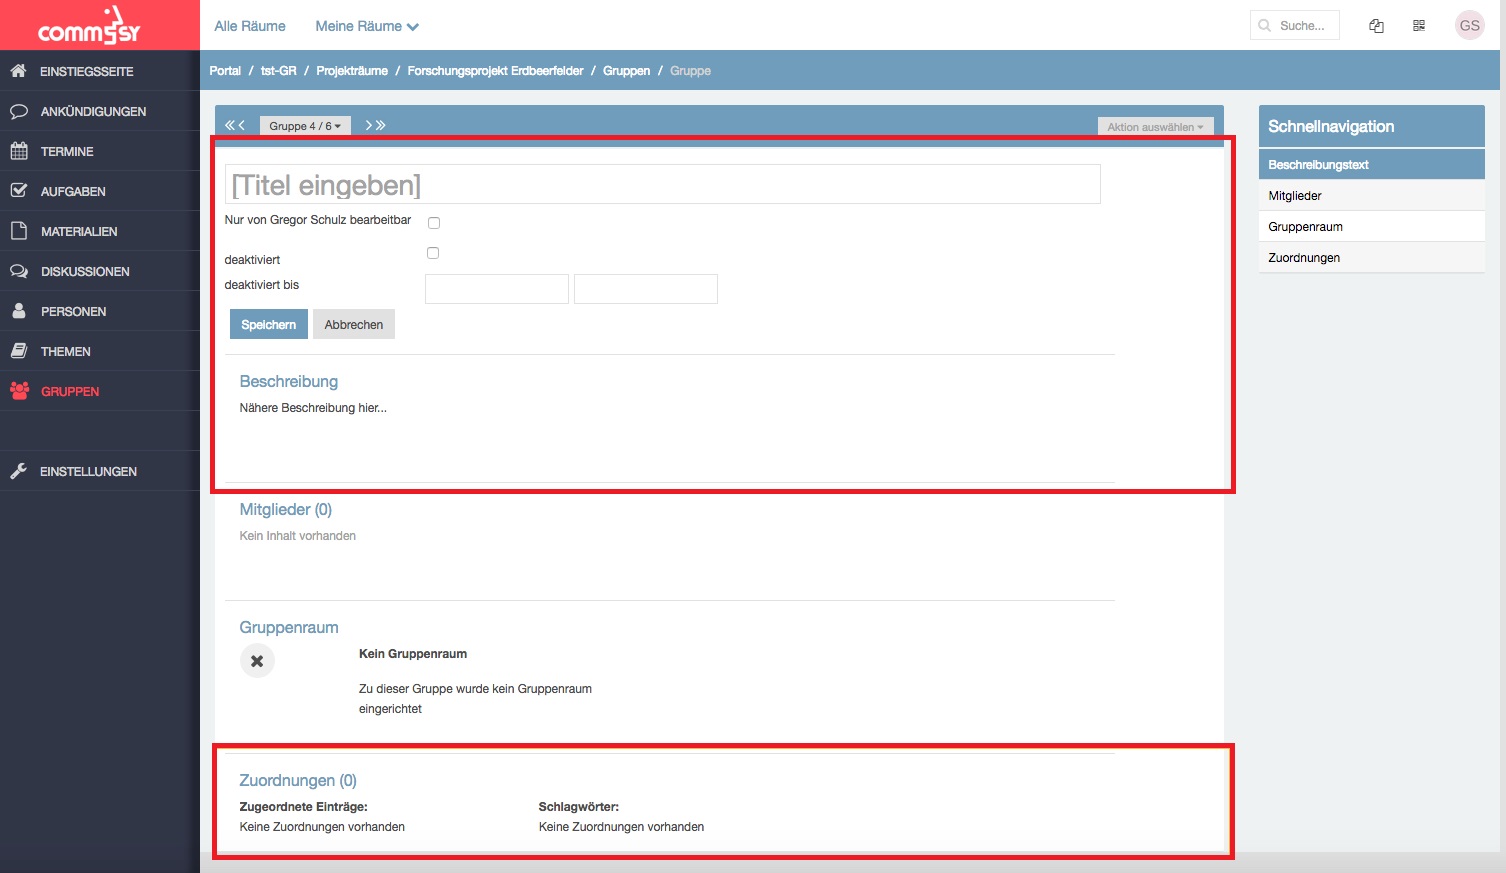
If you would like to create a new group now, select the option "New Entry" in the action menu of the groups section.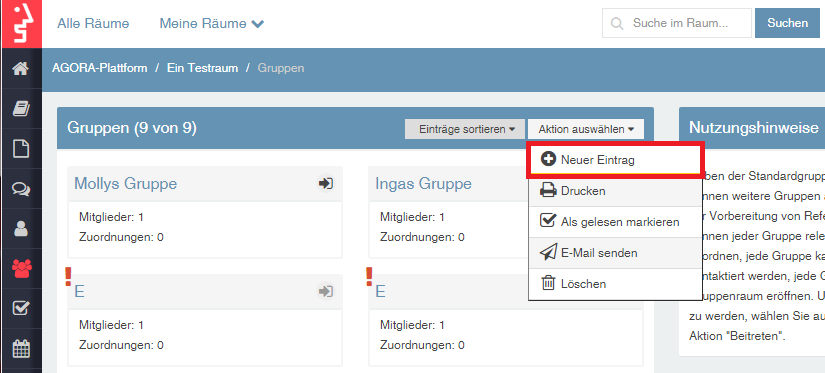
You can now name the group ("Enter Title") and, after saving the title, add a more detailed description for the group. Additionally, you can set the editing rights here and assign specific, previously created entries from your parent CommSy room (e.g., thematically relevant materials) to the group.
| Note: Group rooms are automatically deleted when the associated project room is deleted. Therefore, ensure that you back up any data that you may want to use externally after an event. |
3. Enter Group Room
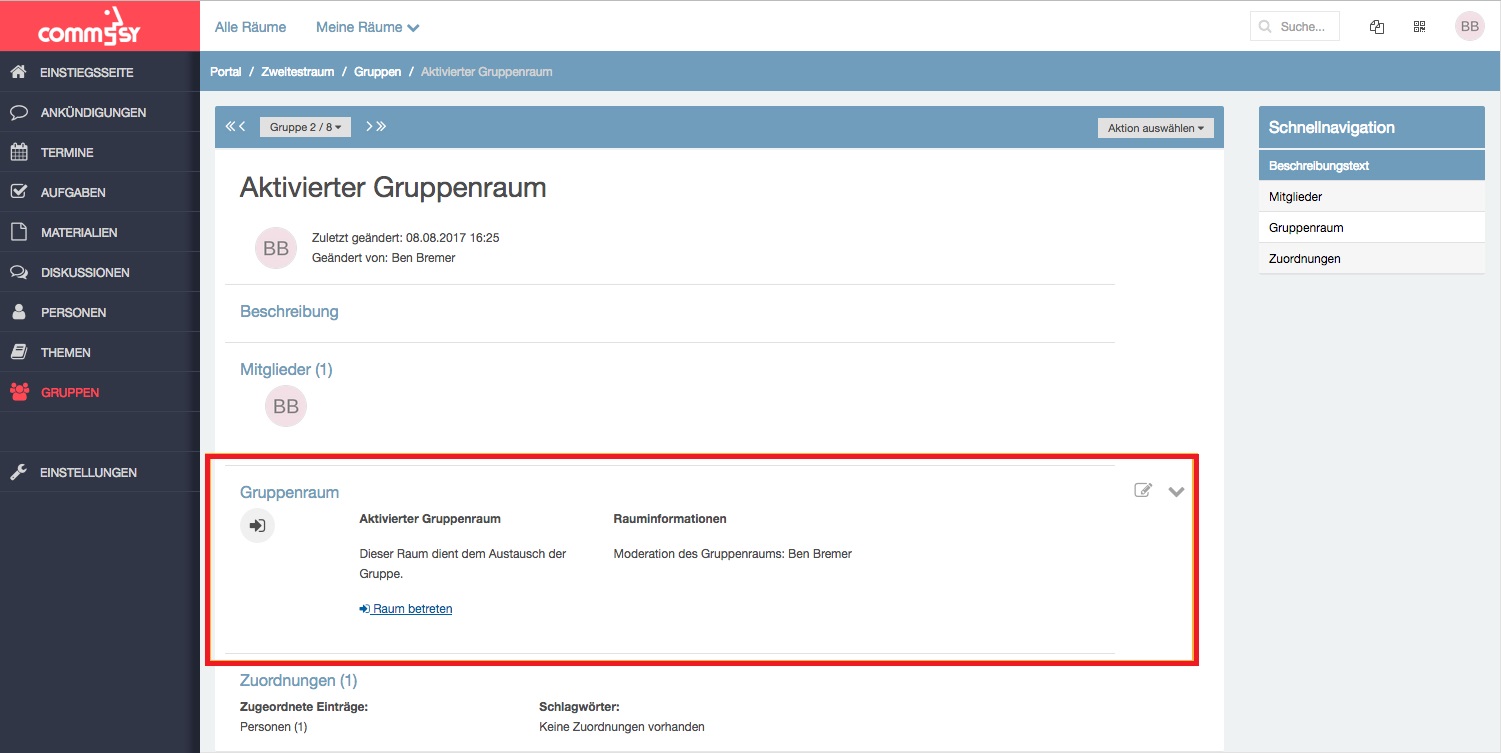
You can essentially use this group room like a regular CommSy room, but restrict access to selected individuals from the parent CommSy room.
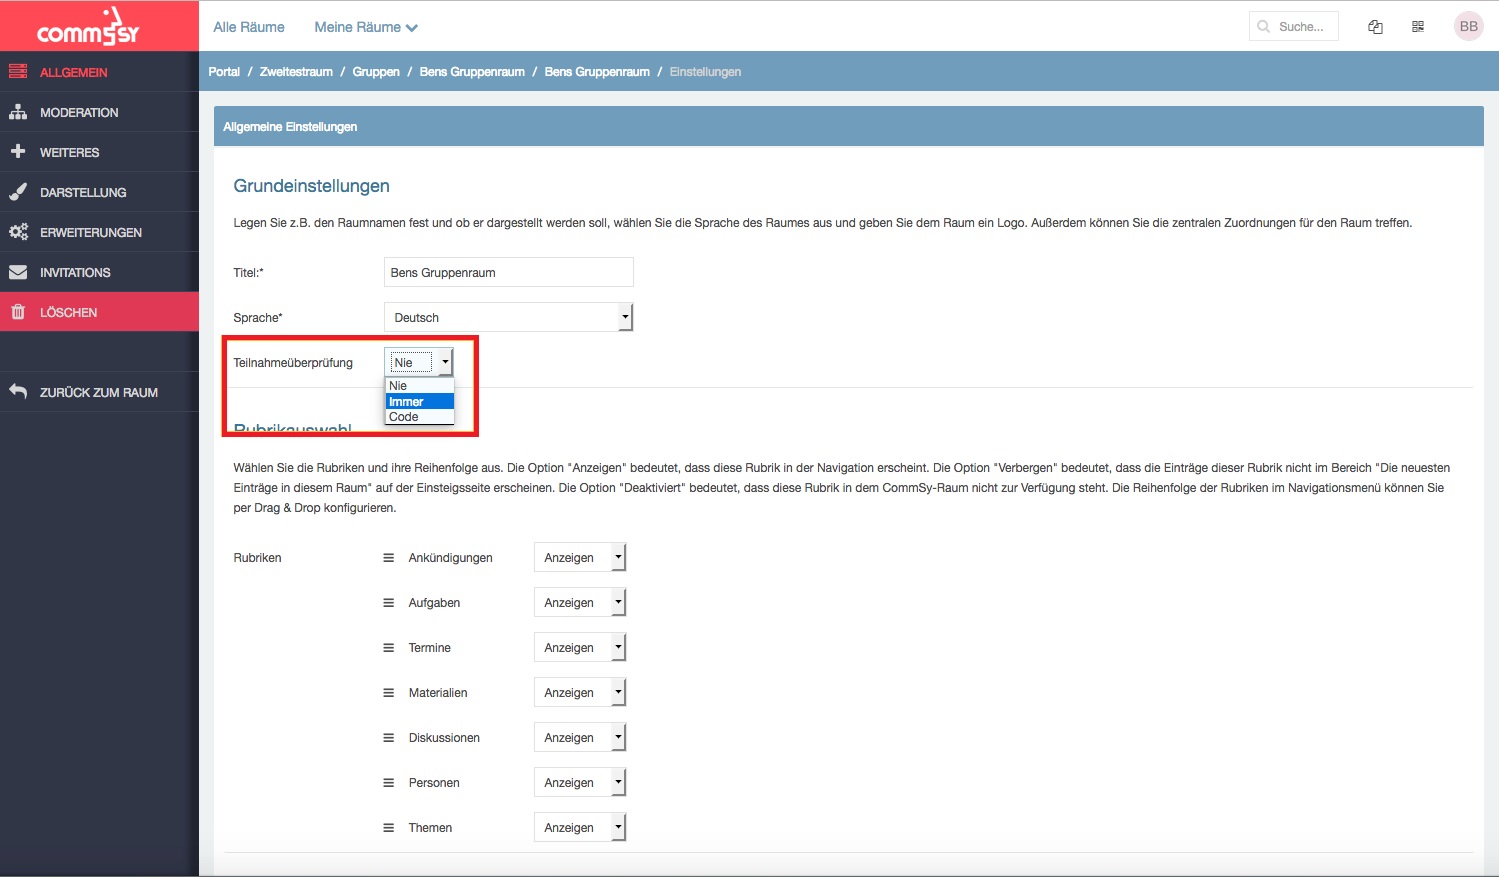
Access to the Group Room: By default, the group room is open to all participants of the parent project room. To limit access, go to the settings of the group room. Under "General," you can choose from the following options in the Participation Verification section from a drop-down menu.
- If you do not want to restrict access and wish to allow all members of the parent room to enter the group room, select the option "Never."
- If you choose "Always Verify," you will automatically receive an email notification for any participation requests and can manually confirm or decline the request.
- Should you opt for the access restriction "with Participation Code," you will need to enter a freely chosen participation code in the text field "Please enter code." In this case, the user will be prompted to enter the participation code before entering the room and can access the group upon entering the correct code.
