Getting Started
In this tutorial, you will find the most important information for getting started on the CommSy platform. You only need your user ID (UHH) credentials to access our platform. After logging in, you can request to join any room that interests you, such as a seminar project room of your lecturer. You can sign up for as many rooms as you like using your ID or even open your own rooms. In the following chapters, we will explain the key steps for new CommSy users in detail.
| Tip: If you are not a member of UHH and do not have a UHH user ID, you can still use CommSy if you are invited by the moderators of a project room to create a CommSy account. In this case, please contact your lecturer. After you receive an invitation email, please follow the link and enter your details in the form that appears, and accept the terms of use. Once you have successfully registered with CommSy, you can search for and enter the desired room under the "All Rooms" menu, which you will find at the top of the screen. |
1. Logging In
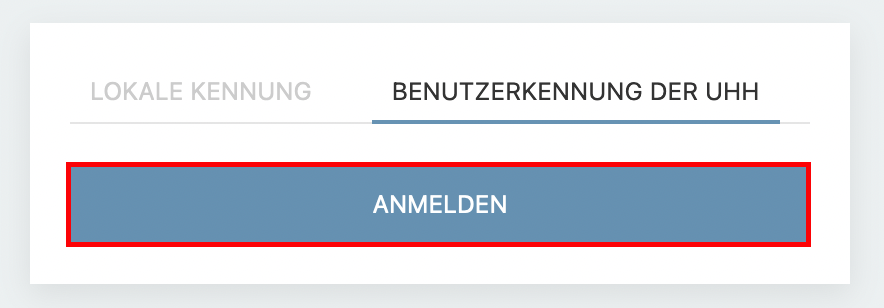
Employees and students of the University of Hamburg can log into CommSy using their user ID (B-Account or "STiNE ID"). To do this, open the CommSy homepage in your browser and click on the link "To CommSy Login". If necessary, scroll down a bit until you reach the login field. Then, first click on the "Log In" button.
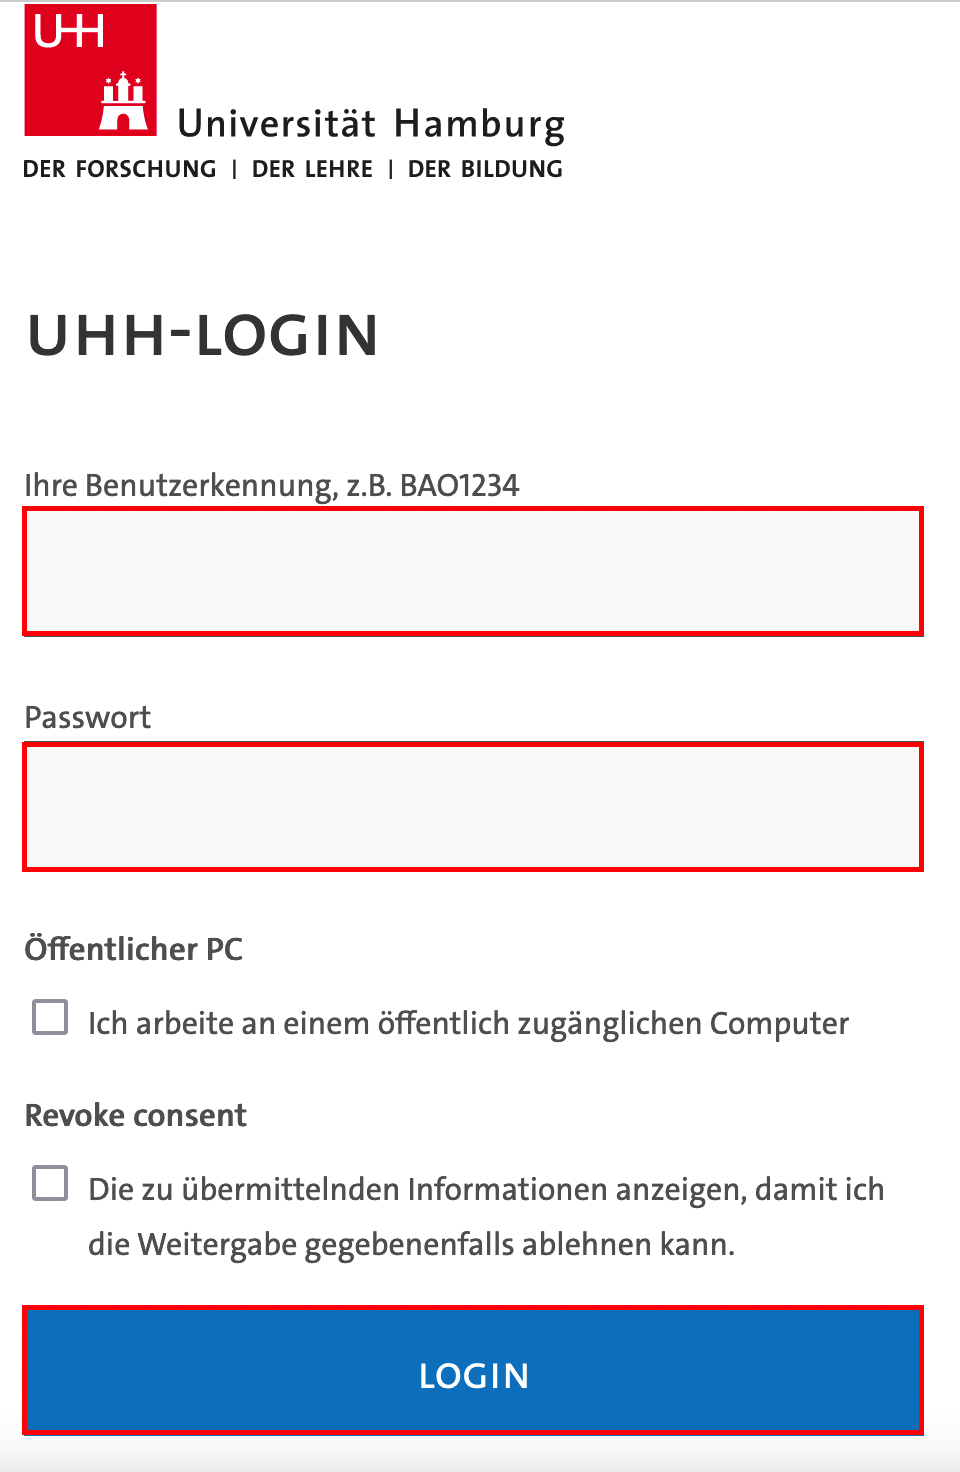
Then enter your user ID credentials (username and password) here and click on "Login".
Please note: The source is preset to 'UHH User ID.' If you are still using an old CommSy ID, switch to 'Local ID' before logging in.
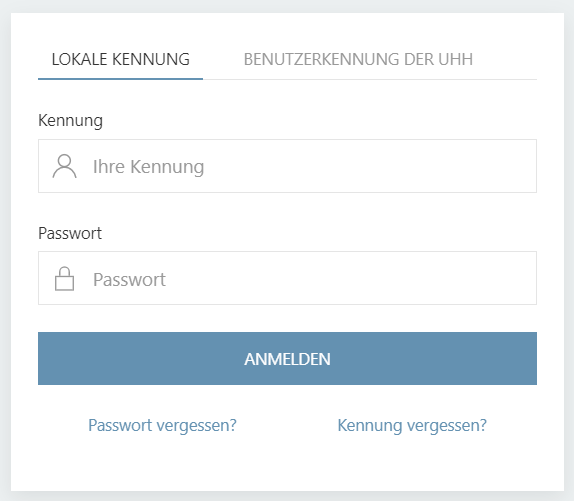
| Note: If you are an external user and do not have a UHH user ID, you can be invited by the room moderators to register for the portal. If you need access to the portal for other reasons, please contact the portal moderation at E-DL.CommSy"AT"uni-hamburg.de. |
2. Dashboard
The dashboard is the starting point of our platform, which you will reach after logging in. Here you will see the buttons "Rooms" and "My Views," as well as the latest entries from your rooms and your calendar.
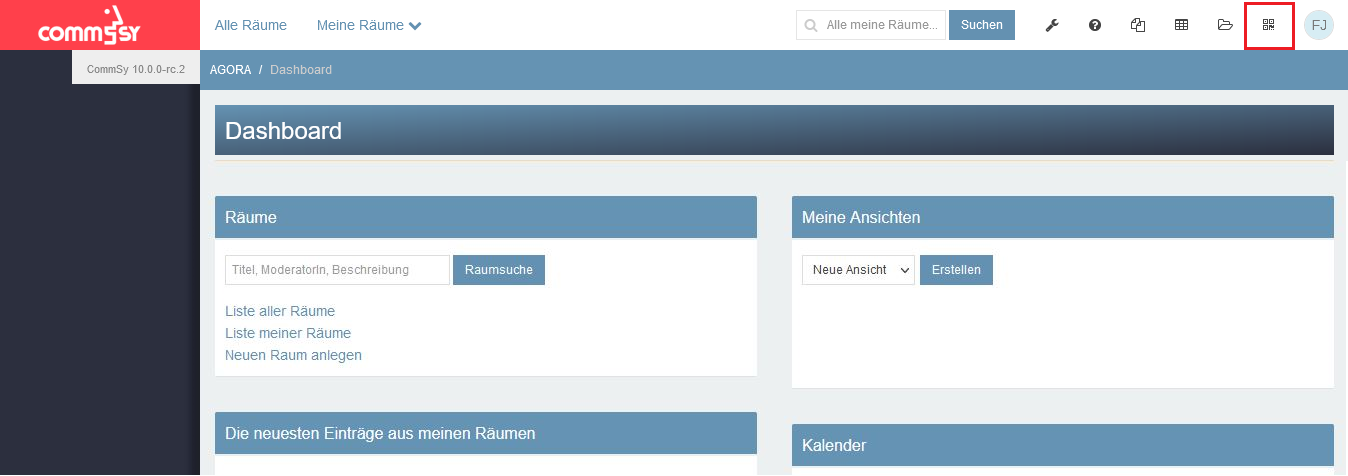
- CommSy Bar: The bar at the top of the screen is an important functional element of CommSy. It includes a link to your profile, among other things.
- Room Search: Enter keywords (e.g., the name of the seminar or the lecturer) to find a room on the CommSy platform.
- My Rooms: Once you are logged in, you can view your workspaces here.
- Create New Room: You can create project rooms and community rooms.
3. Room Participation
Once you are logged into CommSy, you can become a participant in project and community rooms on the platform.
- Under "All Rooms," select a room from the list. If you cannot find a room, use the "Narrow List" function on the right side of the page. → more about room search
- Click on the "Request Membership" link below the room you wish to enter. You will be prompted to provide either a participation code or a reason for participation, depending on how the room moderator has set the participation settings.
Reason for Participation: Indicate why you would like to participate in the room (for example, "I am a participant in seminar XY") and send the note. The room moderator will be automatically notified and will grant you access to the room. Once you have been granted access, you will receive a notification via email and can use all the resources in the room.
Participation Code: Enter the participation code. If entered correctly, you will be immediately granted access to the room.
| Tip: The code for registration is often announced during the first session of a course. If you do not know the code, please inquire with the room moderators. |
4. Room and Categories
After you have successfully requested to join a project room (see "Room Participation"), there is much to explore in this project room. Each project room is divided into various categories, which appear as a bar on the left (see Fig. 4). In the mobile view or on narrow screens, this bar may be collapsed and only show the symbols of the categories. We will explain the individual categories below.
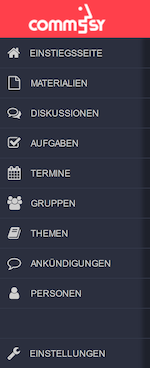
Fig. 5: Category Bar
Home Page: When you select this category, you are on the overview page of the room, where you can see the latest content from the various other categories summarized in list form.
Materials: This is the right place to upload materials of any kind that are relevant to your particular project. There are no restrictions on the file formats you can upload. Choose images, videos, and texts that can enrich the project room content-wise and upload them in a separate material entry. Material entries can be divided into sections. Detailed information can be found in the tutorial "Uploading Materials."
Discussions: The "Discussions" category is similar to the Materials category. Although it is mainly intended for discussions, there is also the option to attach files here. Within a discussion entry, you will find a description field where you can enter your contribution to the discussion.
Assignments: Here you can, for example, post assignments and provide processing details. Participants can indicate how long they spent working on an assignment.
Appointments: In this category, there is an interactive calendar that may already be populated with some dates related to the room's theme—if the room was created to accompany a seminar, for example, it would make sense to enter seminar dates here.
Groups: Under the "Groups" category, members of a project room can form subgroups—for tutorials, workgroups, or individual topics. The individual groups also have the option to set up a group room subordinate to the project room and protected by access controls, which has the same functions as the project room itself—but can only be accessed and used by group members if needed. This category may need to be activated by the room moderation before it appears in the category bar. For more information, see the tutorial "Group Rooms."
Announcements: Here you can see announcements created by other room participants or post your own announcements.
People: When you click on this category, you will find a list of all members of this project room. Here you have access to all the personal information that other members have shared and can send them an email. Room moderators manage the registered participants in this category. If you have activated the function of personal rooms, you can access them via this category.
Settings: Visible only to room moderators. Here you will find an overview of all setting options divided into various menus (on the left). To configure a project room, you must have created the room yourself or be a moderator of that project room. In CommSy, a moderator has various options to customize a project room using the settings options according to your or the group's needs. Detailed information can be found in the tutorial "Room Settings."
5. Project Room
If you are logged into CommSy and would like to become a room moderator for a new project room, proceed as follows:
1. On the dashboard, go to the "Rooms" field and click on "Create New Room."
2. A page with a form will open (see Fig. 1).
3. Enter a title, select the room type, and under "Language," decide whether the room's interface will be displayed in German or English.
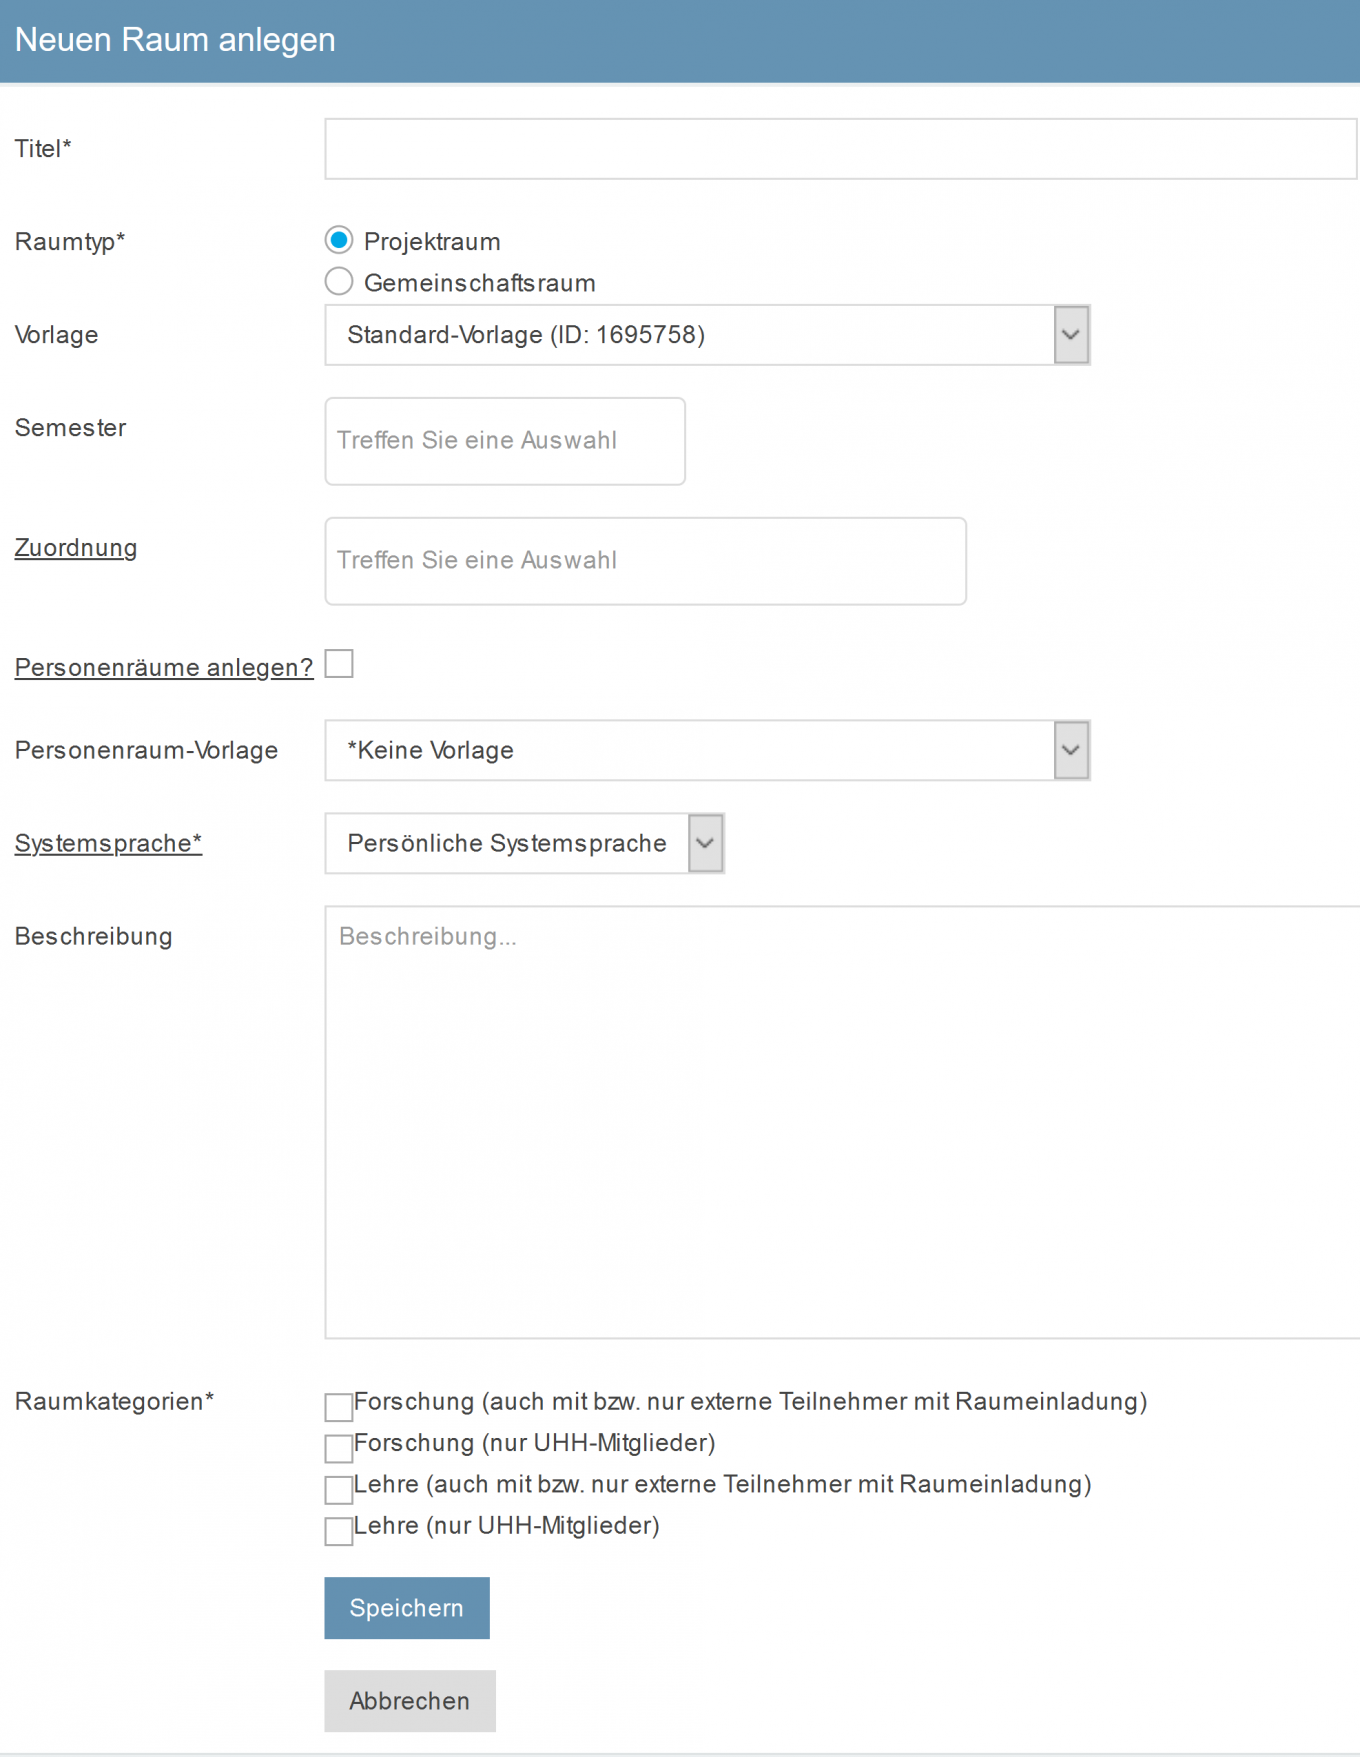
The further details are optional and primarily serve to better guide potential users. At this point, you can also choose whether to create personal rooms. We recommend, in any case, providing information on the 'Semester' and 'Description' fields to make your room more easily discoverable for potential participants.
A special feature is the 'Template' field. By selecting a template, you can open a room that is already filled with content. In addition to the standard template, templates from the ABK area (General Career-Qualifying Skills) and the eLearning office are also freely available.
| Tipp: If you would like to learn more about designing and structuring entries, we recommend the tutorials 'Uploading Materials' and 'Structuring Room Content.' In the tutorial 'Room Settings,' you will find the most important information for moderators. |
